
Кои са най-добрите модели еър фрайър Филипс. Мнения, цена и модели в Техномаркет, Технополис и др. Аксесоари, приставки. ХХЛ.
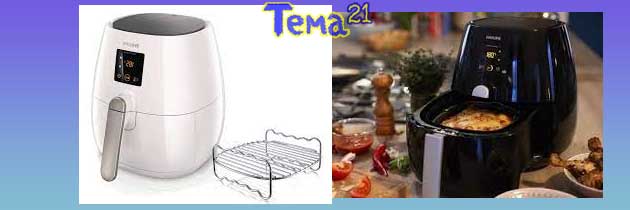
Еър фрайърите на Филипс имат атрактивен дизайн и дават още по-атрактивна заявка за намаляване на мазнините с 80 – 90 %. Повечето им уреди са от средния ценови клас.
| Оригинални допълнения към Филипс | |
|---|---|
| Вид приспособление | Цел, предназначение |
| Решетка за парти грил | увеличава двойно пространството за готвене, като създава второ ниво за нареждане на храна. В комплекта има сепаратор за готвене на различни видове продукти, без да се докосват |
| Разширен сет за грил | съдържа незалепваща скара, 6 шишчета и книжка с рецепти |
| Приставка за печене (тенджера, дълбока тава) | позволява готвене на по-течни консистенции, за кекс, огретен, хляб и др. В комплекта има 9 силиконови форми за мъфини |
| Поставка за пица | оптимизирана форма за ускорено изпичане само за 8 минути |
| Грил тиган с оребрена повърхност | два различни вида за модели HD – 920X, 921X, 922x, 923x, 925X и отделно за модели HD – 962X, 964X, 972X, 974X |
Мнения за най-добри модели еър фрайър Филипс
Във форумите и социалните мрежи се дава предпочитание на по-обемистите модели на Филипс. Масово се препоръчват ХЛ и ХХЛ разновидностите. Изходната точка е, че в голям уред се готви и малка порция, а в малък уред не влиза голяма порция. Освен това ХХЛ Филипс дълго време се предлагаше промоционално на по-ниска цена от малките модели.
Contents
За покритието на кошницата на Филипс има и хвалби, и остра критика. Някои потребители се отказват от уреда след пълно зацапване на кошницата. При по-детайлно сравнение се вижда, че Филипс използват два модела кошници. Проблемна е тази, които прилича на решетка. От по-плътното дъно няма оплаквания.
ВАЖНО: Вижте още мнения за най-добрите модели еър фрайър Филипс, оставете и своя отзив или напишете въпрос ТУК, в нашия форум с коментари!
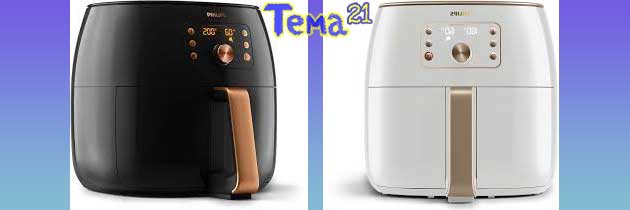
Еър фрайър Филипс ХХЛ (XXL). Модели
Филипс обозначава като
- XL – моделите с вместимост 6.2 литра (1.2 кг). Представител на XL серията е моделът HD9270/90.
- XXL – моделите с вместимост 7.2 литра (1.4 кг). XXL е HD9285/93.
XXL готвят наведнъж за голямо семейство, побират цяло пиле, но само 0.8 кг картофи. Заради големият им обем те са проектирани с повишена мощност от
2225 W.
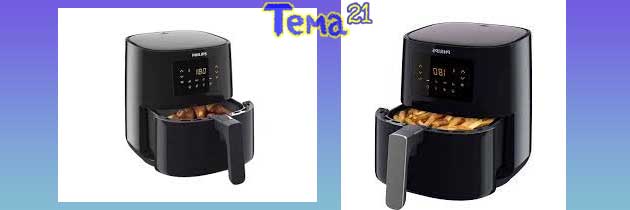
Еър фрайър Филипс HD9252/90
Фритюрник от серия 3000. Цифров модел на изгодна цена от Филипс.
- Технически параметри: мощност 1400 W, обем на кошницата 4.1 l, 0.8 кг, цифров контрол – сензорен екран, 7 запаметени програми (пържи, пече, запича, суши, размразява, претопля, грилова), регулиране на температурата на въздуха от 0 до 200° С;
- Специални функции: Технологията Rapid Air за готвене с 90% по-малко мазнина Завихря въздуха, при което храната остава крехка вътре и се препича отвън. Приложението NutriU с рецепти за ежедневното готвене на този уред. Поддържане на топлина. Кошницата се мие в съдомиялна.
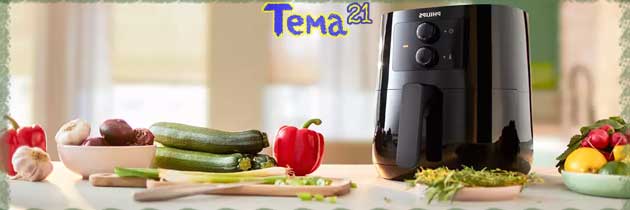
Еър фрайър Philips L HD9200/90
Фритюрник от серия 3000. Механичен модел от среден ценови клас на Филипс.
- Технически параметри: мощност 1400 W, обем на кошницата 4.1 l, 0.8 кг, механичен контрол, регулиране на температурата на въздуха от 0 до 200° С;
- Специални функции: автоматично изключване чрез таймер, индикатор за работа, противохлъзгащи крачета, кошницата е съвместима със съдомиялна, място за кабела вътре в уреда.
- Отзиви: изцяло положителни.
Еър фрайър Филипс XL HD9270/90
XL размер с дигитален контрол и запаметени програми от луксозния клас.
- Технически параметри: мощност 2000 W, обем на кошницата 6.2 литра, 1.2 кг, цифров контрол – тъч скрийн екран, 7 запаметени програми (пържи, пече, запича, суши, размразява, претопля, грилова); индикатор за мощност и регулиране на температурата 0 до 200° С;
- Специални функции: Технологията Rapid Air за готвене с 90% по-малко мазнина, автоматично изключване, звукова сигнализация. Поддържане на топлина. Студен корпус. Мие се в съдомиялна. Приложение NutriU със стотици рецепти.
- Отзиви: без забележки.

Philips Airfryer HD9216/80
Модел от Daily Collection.
- Технически параметри: мощност 1425 W, обем на кошницата 4.1 l, 0.8 кг, механичен контрол, регулиране на температурата на въздуха от 0 до 200° С;
- Специални функции: Технологията Rapid Air за готвене с 90% по-малко мазнина и запичане без изсушаване на храната. Автоматично изключване, антиплъзгащи крачета, място за кабела вътре в корпуса;
- Отзиви: има негативни отзиви за качеството на покритието на кошницата – прекалено много залепва храната и не се почиства напълно от загоряла мазнина, картофите приличат на печени, а не пържени.
Еър фрайър Филипс HD9230/26
Цифров модел, който излиза от употреба и все по-рядко се намира на бг пазар.
- Технически параметри: мощност 1425 W, обем на кошницата 4.1 l, 0.8 кг, механичен контрол, таймер до 30 минути, температура с регулация в диапазон 0 до 200° С;
- Специални функции: Технологията Rapid Air за готвене с 80% по-малко мазнина и запичане без изсушаване. Решетка за печене вътре в комплекта. Автоматично изключване, антиплъзгащи крачета, място за кабела вътре в корпуса.
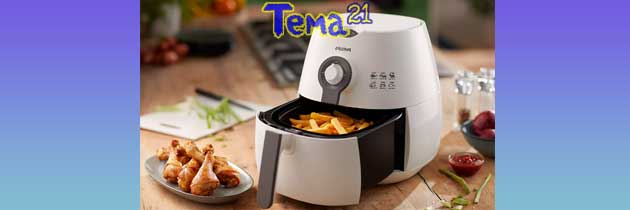
Филипс Viva Collection Airfryer HD9621/90
- Технически параметри: мощност 1425 W, обем на кошницата 4.1 l, 0.8 кг, цифров контрол, регулиране на температурата на въздуха от 0 до 200° С;
- Специални функции: без първоначално загряване. Технология Турбо Стар за свръхнагорещяване на въздуха за готвене без олио и без миризма на пържено. Миене в съдомиялна. Покритие QuickClean на кошницата за улеснено миене и подвижни части за поставяне в съдомиялна. Книжка с рецепти в комплекта.
- Какво продават в Зора? Има 16 модела на Philips – механични и цифрови, като цената им е в диапазона от 229 лв до 850 лв за модела HD9875/90;
- Какво се продава в Технополис? Не предлагат модели на Philips;
- Какво се продава в Метро? Не предлагат модели на Philips;
- Какво продават в Кауфланд? По-рано веригата имаше акции за продажба на някои уреди на Филипс, между които и механичен еър фрайър, срещу точки. Към момента няма актуална промоция.
Как се работи с еър фрайър Филипс
- Уредът се включва в мрежата;
- Отваря се чекмеджето, при което кошницата излиза навън, поставя се храната;
- Чекмеджето се затваря;
- Чрез механичните въртящи се регулатори се посочва време за готвене и температура;
- Със задаване на времето, уредът се включва автоматично;
- При изтичане на времето уредът се самоизключва.
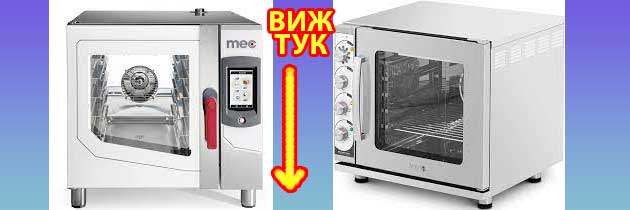
Погледнете и ТОВА: Конвектомат за вкъщи. Мнения за домашен конвектомат. Разлика с фурна. Кой е най-добрият битов конвектомат (за дома)?
Програми на еър фрайър Филипс
Програмите на уредите за пържене с въздух представляват предварително зададени параметри – за температура на готвене и за времетраене. Отделно е предвидена ръчна настройка.
Трикове при готвене с еър фрайър Филипс
Основен недостатък на Филипс е неприятното залепване на храната към кошницата при някои модели. При това кошницата се цапа и е невъзможно да се почисти напълно. Потребителите са измислили да използват фритюрника с еднократни хартиени подложки, съдове от фолио или силикон, както и с аксесоарите от специалните комплекти. По този начин се намалява зацапването и се улеснява почистването.
Малка тънкост при пърженето на картофи на Филипс е предварителното им накисване в хладка вода за 30 минути. Нишестето от картофите пада и те се получават по-хрупкави отвън. Една кошница картофи става за 20 – 30 минути (зависи колко е напълнена), като задължително се разбъркват в средата на печенето.
Рецепти за еър фрайър Филипс
За готвенето в еър фрайър са нужни само две указания – температура и времетраене. В специални групи за еър фрайър във Фейсбук се разменят именно такива „рецепти“, защото останалата част от приготвянето е идентично – поставя се храната и се включва уредът.
Тиквички в еър фрайър Филипс
Тиквички на кръгчета се нареждат на един ред (може със застъпване ветрилообразно).
Тиквички на кубчета позволяват насипване на пласт с дебелина 2 до 2.5 пръста. Във втория случай е необходимо еднократно разбъркване в средата на готвенето.
Еднакво добре стават тиквички със и без панировка. Предварителната подготовка е по стандартните рецепти. Изпържването в еър фрайър изисква максимална температура и отнема 15 – 20 минути.
Кюфтета в еър фрайър Филипс
Предварителната подготовка е според обичайните рецепти, няма специални изисквания към състава на кюфтетата. Особеното е изпичането им в еър фрайър.
Мнозина предпочитат използването на подложка. Не се добавя мазнина, при желание се намазват отгоре с олио с помощта на четка.
Кюфтетата се пекат на 180 градуса за 30 минути.
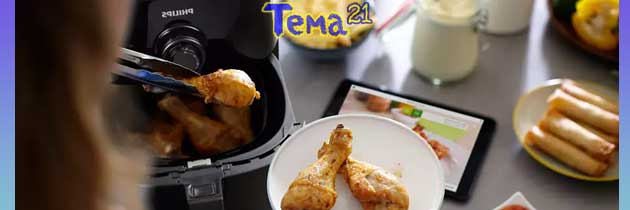
Пилешки бутчета в еър фрайър Филипс
Бутчетата се овалват в сос по вкус, например зехтин с чесън, билки и червен пипер. Леко се оцеждат (да не капе от тях) и се нареждат в кошницата. Уредът се включва на 180° C за 20 – 25 минути.
Пържени картофи в еър фрайър Филипс
Обелете и нарежете картофите. Потопете ги в хладка вода за 30 мин. Оцедете ги и ги избършете в кърпа. Оваляйте в дресинг от олио с подправки, например пипер и сол.
Картофите се пекат 20 – 25 минути на 200 °С, с едно разбъркване в средата на времето.
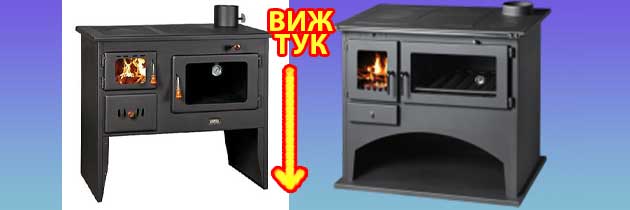
Още нещо интересно ТУК: Коя е най-добрата българска печка на дърва? Евтини готварски печки. Стара пернишка печка и нови модели на същата фабрика.
Аксесоари (приставки) за еър фрайър Филипс
Филипс е от малкото марки, която произвежда аксесоари за своите еър фрайери. Наистина, те се продават отделно и са сравнително скъпи, но пасват точно към конкретния модел. Аксесоарите не са универсални, винаги гледайте за кои модели са предназначени.
Отделно за Филипс стават и универсалните комплекти с аксесоари. При тях се ориентираме по диаметъра на кошницата. За целта трябва сами да го измерим с рулетка, защото не е упоменат в документацията.
За XXL моделите са произведени пет вида оригинални аксесоари, за други серии има по два или три вида. . Вижте ги в таблицата най-горе.
Още информация и източници: Предимства на еър фрайър Тефал пред Филипс; * Кои са най-хубавите еър фрайъри; * Топ 10 подаръци за жени, впечатляващи!
Кошница за еър фрайър Филипс. Тавичка
При търговците на резервни части се намират кошници за еър фрайери, но ние не откриваме такива за уредите на Филипс.
Тавичка може да се закупи и неоригинална. За пример в allmag.bg има плитки тави на 7.50 – 9 лв, дълбоки на 11 лв, силиконови на 11 – 17.50 лв. При закупуване непременно проверете размера – дали ще се побере във вашия еър фрайър.
Вижте и ТОВА: Разлика между мултикукър и фрайър. В едно двете какви предимства имат? Мнения и откъде се вземат изгодно?

Margarita Alexieva is an editor in numerous health departments of various national and regional daily and weekly newspapers and magazines. She has been in journalism since 1992, and in recent years she has been mainly focused on the topics of news, healthcare and medicine.
Купих си с точки от Кауфланд един бял 1425 вата, но не знам точния модел. Кошницата е ужасТТТ, мечтая да го хвърля, но струваше над 200 лв така че си сърбам избора. А, и дръжката му се счупи.
The article could have emphasized the significance of crop rotation in the garden. Rotating tomato plants with other crops can help prevent the buildup of diseases and pests in the soil.
One thing I’ve found helpful when transplanting seedlings is to use a seaweed-based fertilizer. It helps reduce transplant shock and promotes root growth.
The article didn’t mention the importance of pruning suckers on indeterminate tomato varieties. Pruning these excess shoots can help improve airflow, reduce disease risk, and increase fruit production.
I’m afraid I disagree with the idea that leggy seedlings should always be buried up to their first set of true leaves. In my experience, burying the stem can sometimes lead to rot, so it’s better to stake the seedlings for support.
While the article provides some good tips, it’s essential to mention the role of mycorrhizal fungi when transplanting tomatoes. Inoculating the roots with these beneficial fungi can greatly enhance root growth and nutrient uptake.
While I appreciate the recommendations for fertilizing tomato seedlings, I caution against overfertilization, as this can lead to excessive vegetative growth and delay fruit development. It’s important to follow the package instructions for any fertilizers used and to monitor the plants for signs of nutrient deficiencies or excesses.
I agree that we should harden off tomato seedlings gradually before transplanting, but protecting them from the harsh sun and wind is important during this process. You can use shade cloth or row covers to provide protection until the seedlings acclimate to outdoor conditions.
I disagree that all seed-starting mixes are created equal. Some mixes may contain high levels of nutrients or moisture-retaining materials that can lead to problems like damping off. It’s important to choose a high-quality, sterile seed-starting mix specifically formulated for growing seedlings.
While I agree that seed-starting trays can be a good option for starting tomato seedlings, using individual cells or pots can be even more effective. It allows each seedling to develop its root system and reduces the risk of transplant shock when moving them outside.
I disagree that we must start tomato seedlings indoors in all regions. In warmer climates, such as in the southern United States, it may be possible to start seeds directly outside. However, it’s important to wait until the soil has warmed up sufficiently and all danger of frost has passed.